

I’m here to share some nifty tricks on how to extend the life of your interior wall paint. I’ve learned through my own trials and errors, so you don’t have to. From choosing the right paint to knowing when to repaint, I’m offering you 12 top tips. Let’s dive in so you can start saving time, money, and the hassle of repainting too often.
Choosing the Right Quality Paint
In my experience, the first step towards ensuring the longevity of your interior wall paint begins with choosing the right quality paint. You can’t overlook the importance of paint color selection and paint type comparison in this process. I’ve found that high-quality paints are rich in pigments and provide a more vibrant color, which adds an extra layer of aesthetic appeal to your walls. It’s essential to compare different paint types, like oil-based, latex, or enamel, as they each have unique durability and finish characteristics. I’ve observed that oil-based paints are more durable but harder to clean, while latex paints are easier to handle but may not last as long. So, always weigh the pros and cons before making a decision.
Preparing Walls Before Painting
After you’ve chosen the right paint, it’s crucial to prepare your walls properly before applying it. This includes a few key steps:
- Cleaning: Remove dust, grime, and cobwebs. A clean wall ensures that the paint adheres well.
- Wall Texturing Methods: If your wall is uneven, consider applying a texture. This can hide flaws and give your wall a unique look.
- Drywall Repairs: Check for any damages or holes in your drywall. Fill these in with a drywall filler and sand it smooth.
- Priming: A primer will seal the drywall, cover stains, and provide a good base for your paint.
Importance of Primer Application
Picking up from where we left off, I can’t stress enough the role a good primer plays in enhancing the longevity of your interior wall paint. The first layer of primer acts as a bridge between the wall and the paint. It ensures that the paint adheres to the wall efficiently, reducing the risk of peeling or chipping.
There’s a range of primer types available in the market, each serving a unique purpose. Some are designed for stain blocking, while others focus on adhesion or sealing porous surfaces. It’s essential to choose one that suits your specific needs.
Moreover, primer’s role in color accuracy is pivotal. It provides a uniform base that helps the paint color to shine through as intended. So, don’t skip the prime time!
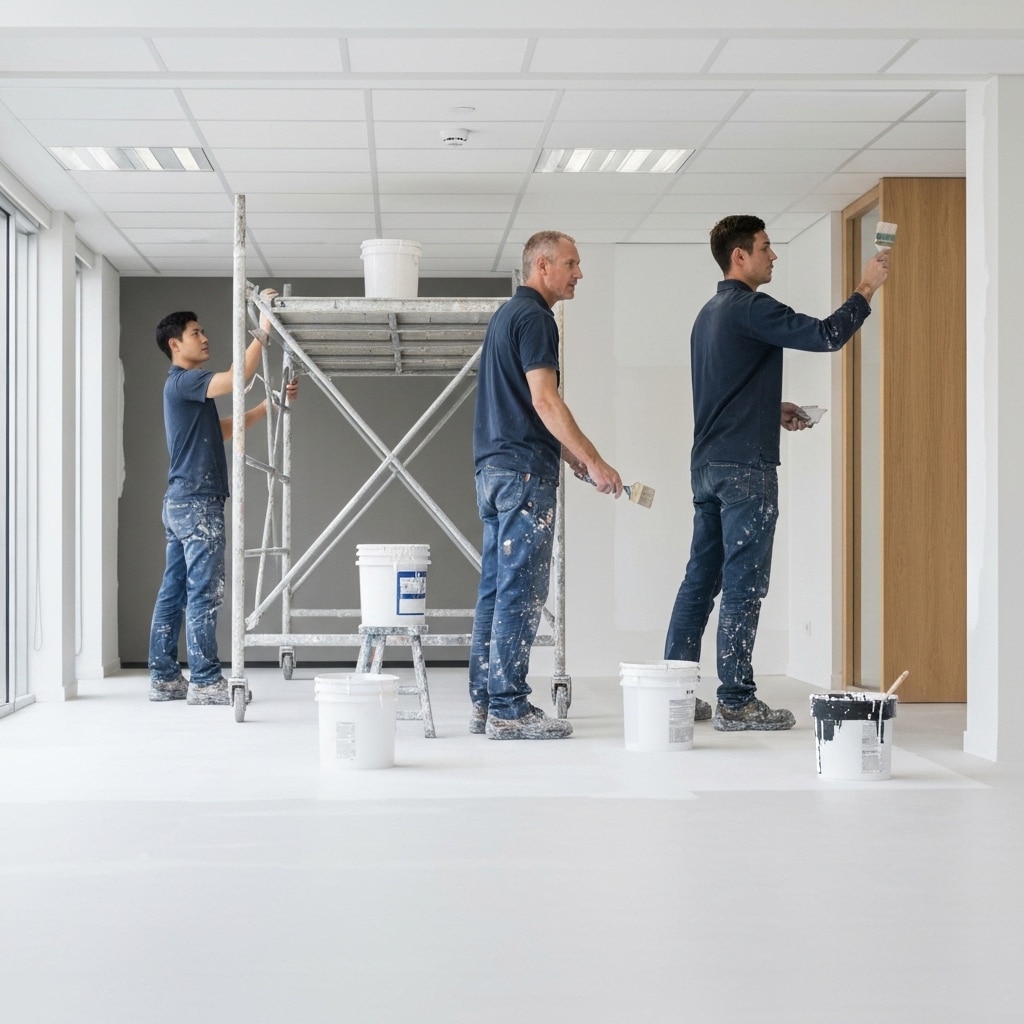
Optimal Painting Techniques
Having covered the importance of primer, I’ll now delve into optimal painting techniques that can further extend your interior wall paint’s lifespan.
- Brush techniques: Always start with a quality brush, it makes a difference! Also, remember to apply paint in the direction of the grain for a smooth finish.
- Layering methods: Don’t rush. Let each layer dry before applying the next. This ensures a lasting, even finish.
- Roller use: For larger areas, a roller can save time. Be sure to apply evenly, without excess pressure.
- Edge painting: Careful attention to corners and edges can improve the overall look and longevity of your paint job.
Maintaining Ideal Room Conditions
In my next point, I’ll share three key factors that contribute to creating the ideal room conditions for maintaining your interior wall paint. First, humidity control is crucial. Excessive moisture can cause paint to peel, so it’s essential to invest in a good dehumidifier. Second, temperature regulation plays a significant role. Extreme cold or heat can lead to cracking and fading, respectively. Try to maintain a consistent, moderate temperature in your rooms. Lastly, proper ventilation is important. It prevents the buildup of condensation, which can damage your paint. By managing these three aspects – humidity control, temperature regulation, and good ventilation – you’ll not only extend the life of your paint but also keep your home comfortable and pleasant.
Proper Handling of Leftover Paint
I’ve got a few simple steps to ensure your leftover paint stays in top condition for future touch-ups or projects.
- Paint storage is key. Store your paint cans in a cool, dry place. Avoid extreme temperatures which can ruin the paint.
- Seal it tight. Ensure the lid is tightly closed to prevent the paint from drying out.
- Keep it clean. Wipe the can rim before closing to create a proper seal.
- Recycle alternatives. If you’ve got too much leftover paint, consider donating it or finding a local recycling facility.
Regular Wall Cleaning Practices
Let’s dive into the regular wall cleaning practices that can prolong the life of your interior wall paint. Dust prevention methods play a crucial role in maintaining the vibrancy of your paint. Regular dusting can prevent buildup, which can cause your paint to look dull. A soft microfiber cloth is often all you need for this task. If your walls require a deeper cleaning, your cleaning product selection is vital. Opt for mild cleaners over harsh chemical ones. They can clean effectively without stripping the paint or causing discoloration. Always test your product on a small, hidden area first. Moreover, try not to scrub too hard, as it can damage the paint. Regular, careful cleaning can enhance your wall paint’s longevity.
Handling Wall Stains Correctly
After regular cleaning, you’ll likely encounter the inevitable wall stains, and the way I handle these can dramatically impact my wall paint’s longevity. Stains can be tricky, but with the right approach, they don’t have to be a menace. Here’s my 4-step guide:
- Stain identification: Recognize the nature of the stain. Is it oil or water-based? Different stains require different removal techniques.
- DIY stain removal: Use homemade solutions such as vinegar or baking soda for mild stains. They’re effective and paint-friendly.
- Gentle scrubbing: Don’t scrub hard. You’ll end up damaging the paint. Instead, gentle circular motions work best.
- Repaint if necessary: If the stain persists, consider repainting that section.
Importance of Touch-Up Paint
Moving on from stain management, having a touch-up paint kit on hand is another key strategy I use to maintain my walls’ vibrant look and extend the paint’s lifespan. Touch-up paint comes in handy for minor repairs and blemishes. It’s crucial to ensure color matching for a seamless blend. Moreover, correct paint storage is essential for preserving the paint’s quality.
Here’s a table to illustrate the importance of touch-up paint:
| Aspect | Why It Matters | My Strategy |
|---|---|---|
| Touch-Up Paint | Fixes minor blemishes | Always have a kit on hand |
| Color Matching | Ensures seamless blend | Use paint from the original batch |
| Paint Storage | Preserves paint quality | Store paint in a cool, dry place |
Investing in touch-up paint can save you from repainting entire walls, making it a cost-effective way to enhance your paint’s longevity.
Utilizing Fade-Resistant Paints
While I’m always on the lookout for ways to maintain my wall’s vibrant appearance, I’ve found that utilizing fade-resistant paints significantly boosts the longevity of my interior paint job. The color selection impact is a crucial aspect of this process.
Here are four tips I’ve found useful:
- Choose vibrant colors: Dark shades often retain their hue longer than light ones.
- Opt for high-quality brands: A paint brand comparison can reveal which ones offer fade-resistant options.
- Apply a primer: This provides a good base, ensuring the paint holds up over time.
- Avoid direct sunlight: UV rays can cause paint to fade, so consider your wall’s exposure.
With these tips, you can enjoy a lasting, vibrant wall color.
Protecting Surfaces From Sunlight
In my quest to shield my home’s painted surfaces from damaging UV rays, I’ve discovered some effective strategies. Window treatment options play a crucial role in this protective process. A simple yet effective method is using UV-blocking window film. It’s affordable and doesn’t obstruct your view. Next on my list are blackout curtains or blinds. They’re excellent at reducing heat and blocking sunlight, thus extending your paint’s lifespan. Another top pick for UV protection methods is solar screens. They’re more efficient than standard window screens and block up to 90% of the sun’s heat. Lastly, arranging furniture to block direct sunlight can also help. Remember, protecting your painted surfaces from sunlight can significantly enhance your interior wall paint longevity.
When to Repaint Your Walls
After taking all these steps to protect my walls from sunlight, I’ve learned to recognize when it’s time for a fresh coat of paint. Here’s a little guide I’ve put together:
- Color Fading: If the vibrancy of the wall color is fading, it’s time to repaint. This is often due to prolonged sun exposure.
- Wall Damage: Cracks, peeling paint, or water stains are signs that it’s time to repaint.
- Color Trends: Sometimes, it’s not about necessity but preference. If the color trends have shifted and you want to update your space, go ahead and repaint.
- Paint Allergies: If you or a family member develop allergies, it might be due to the type of paint used. In such cases, repainting with a hypoallergenic alternative is recommended.