

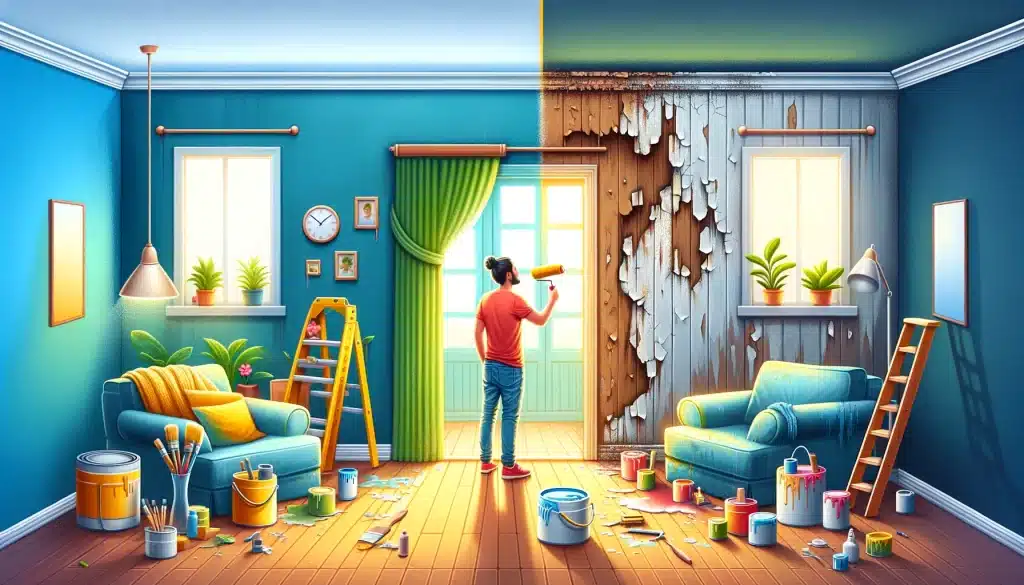
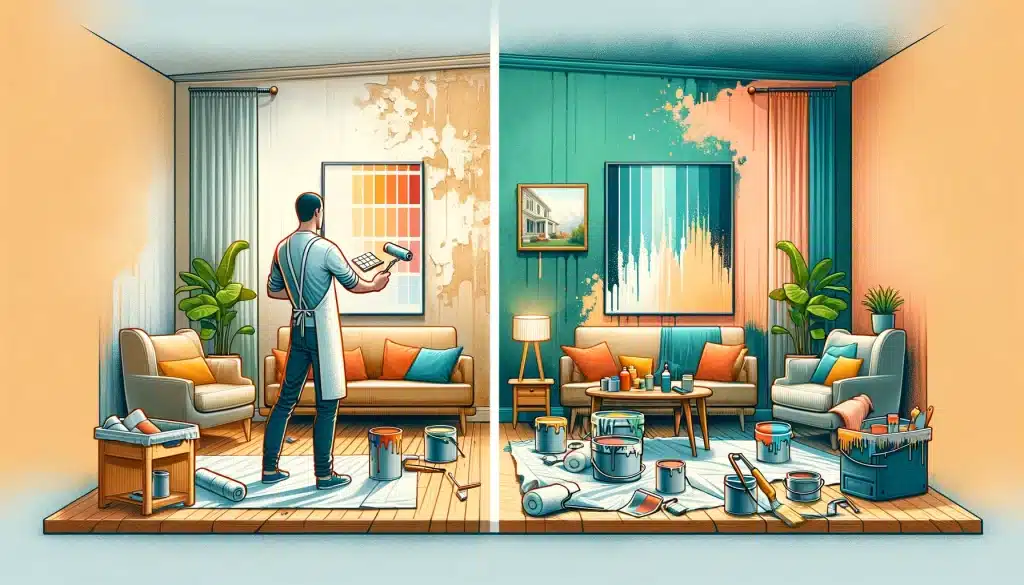
Paint plays a crucial role in protecting and beautifying our homes. When properly maintained, quality paint jobs enhance curb appeal, improve energy efficiency, and provide years of lasting beauty and protection. As a professional painting contractor, I want to share my expertise in caring for your home’s painted surfaces so you can maximize their durability and benefits.

In this comprehensive guide, I’ll cover key strategies for maintaining interior and exterior painted surfaces to avoid premature peeling, fading, and other damage. You’ll learn how simple regular care extends the life of your paint job, complements your home’s heating and cooling systems, and keeps your spaces looking fresh and vibrant even after years of wear.
I’ll also provide tips on repairs and touchups so you can fix minor issues as they arise. And I’ll offer guidance on determining when it’s time to call in a pro painter for a fresh coat to restore your home’s beauty and protect your investment. Follow these essential maintenance practices and enjoy your home’s colorful paintwork for years to come.
The Benefits of Proper Paint Maintenance
It’s easy to overlook the importance of caring for your home’s painted surfaces once the job is done. But appropriate maintenance pays dividends by:
- Extending the lifespan of your paint job. With proper care, quality exterior paints can last 7-10 years, while interior paints can maintain their luster for 5-15 years depending on wear. This saves thousands over continual repainting.
- Enhancing your home’s appearance and resale value. A well-kept paint job keeps your home looking its best. Freshly painted interiors and exteriors often increase resale value by 5-10%.
- Supporting heating and cooling efficiency. Sealing cracks helps insulate your home. Clean surfaces allow sunlight to reflect heat, reducing air conditioning costs.
- Creating a warm, welcoming environment. The colors you choose affect mood and ambiance. Well-maintained paint keeps your spaces looking clean, fresh, and inviting.
Regular maintenance also catches minor issues before they become major expenses. Don’t wait until the paint is cracked, peeling, and faded to take action. A little effort goes a long way.
Conducting Regular Inspections
The first step in effective paint maintenance is walking through your home with a critical eye at least once a year – more often for exterior surfaces exposed to the elements. Look for:
- Cracks or holes: These allow air and moisture to penetrate the surface, causing bigger issues. Inspect walls, ceilings, moldings, and trim.
- Peeling/flaking: This indicates paint is losing adhesion. Check areas by doors, windows, trim, and exterior walls.
- Fading: Sun exposure causes fading, especially on southern and western exposures. Note where touch ups may be needed.
- Stains/dirt buildup: Clean painted surfaces regularly to avoid stains setting in. Check high-traffic areas like hallways.
- Damaged caulking: Cracks around windows, doors, and trim allow air/water infiltration. Recaulk at first signs of shrinkage or gaps.
Make notes on areas needing attention so you can properly prepare for repairs. Addressing issues promptly is much easier than allowing extensive damage to occur.
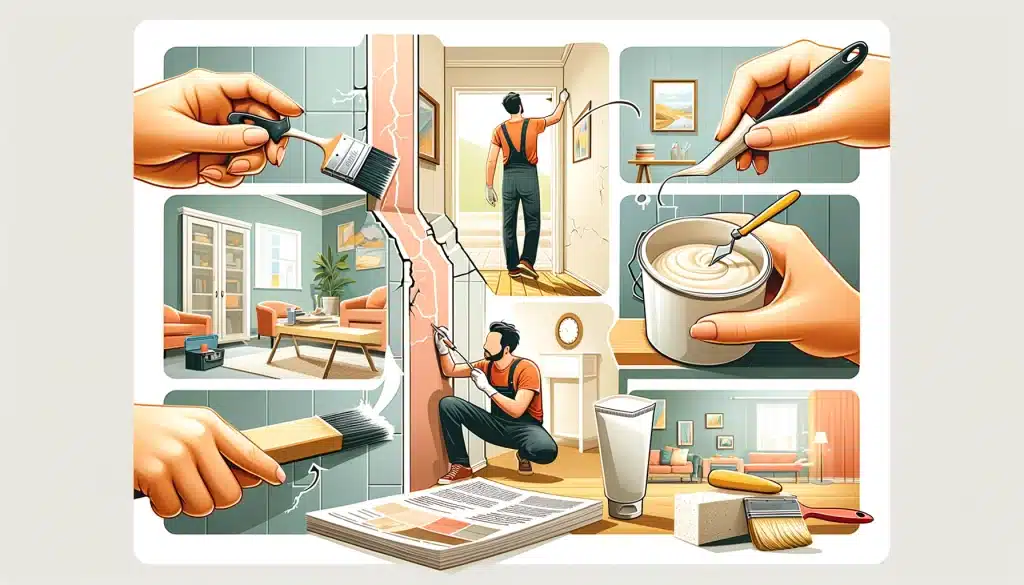
Repairing Common Paint Damage
With regular inspections, you can catch small issues before they spiral. Here are tips for flawlessly fixing common paint problems:
Filling Cracks
Small cracks are inevitable as homes shift and settle over time. Fill these using:
- Paintable caulk for narrow cracks: Smoothe caulk into the crack with a fingertip. Allow drying completely before painting.
- Lightweight spackle for slightly wider cracks: Apply with a putty knife, let dry, then sand smooth. Wipe away the dust before priming and painting.
Larger cracks or those that reappear rapidly likely indicate a more serious issue needing professional repair. Controlled home humidity between 30-50% also minimizes seasonal expansion/contraction cracks.
Fixing Peeling or Flaking Paint
If your paint begins peeling or flaking, address it promptly to avoid the problem worsening. Start by:
- Scraping away all loose paint: Use a paint scraper, putty knife, or sandpaper. Feather edges to create a smooth transition.
- Sanding surrounding area: Lightly sand at least 2 inches around the flaking area to rough up the surface for paint adhesion.
- Wiping away all dust: Use a tack cloth to remove sanding residue before priming or painting.
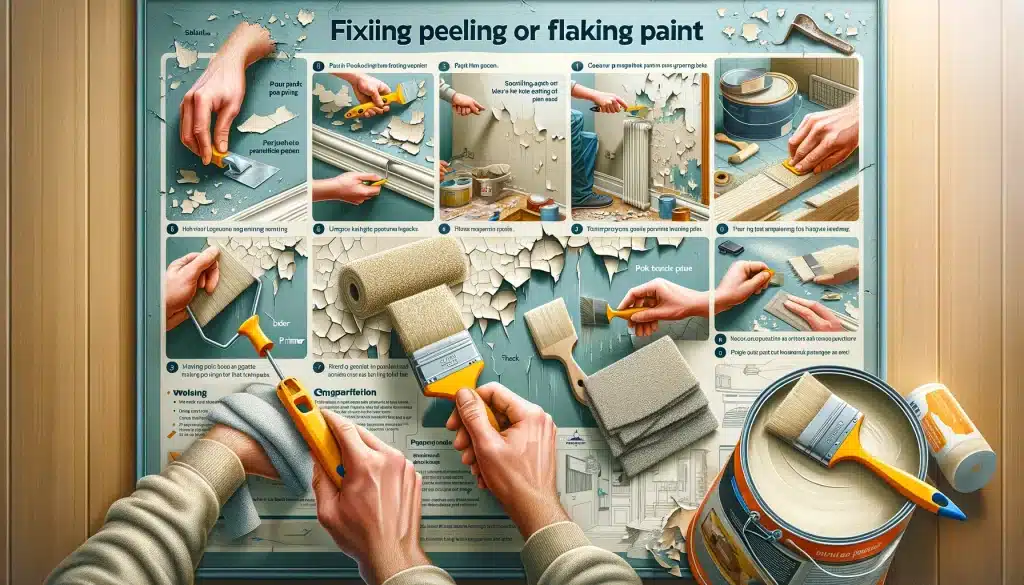
Next, spot prime any bare wood or drywall with an appropriate primer. Allow to fully dry before coating with matching topcoat paint. Severe peeling may indicate moisture issues requiring professional assessment.
Dealing with Fading Paint
Sunlight, pollution, and typical wear and tear lead to paint fading over time. Here are your options:
- For mild fading, apply 1-2 fresh coats of quality exterior paint in the original color. This preserves your existing color scheme.
- For extensive fading, a full repaint may be required in the original or an updated color. White and light colors are especially prone to yellowing.
- Look for paints containing UV-resistant pigments and absorbers. These help counteract the sun’s damaging rays.
Southern, western, and unprotected walls fade most rapidly. Inspect these areas closely each year, and budget paint jobs every 7-10 years to restore vibrancy.
Cleaning Painted Walls and Ceilings
For light dust and dirt, use:
- Microfiber duster
- Soft brush attachment on vacuum
- Low-pressure air compressor
For marks, gently wipe with:
- Mild dish soap and warm water
- All-purpose cleaner
- TSP substitute cleaner
Avoid abrasive scrubbing which could leave shiny spots and damage the finish. Limit moisture to prevent water stains.
Repairing Nail Pops
Lumber shrinkage sometimes causes nail pops as drywall nails work loose. Here’s how to remedy this:
- Reset protruding nail head using hammer and nail set tool.
- Fill the sunken hole with lightweight spackle, and allow it to dry completely.
- Lightly sand spackled area smooth and wipe away dust.
- Spot prime and paint the repaired section, feathering edges to blend.
For recurrent pops, use drywall screws rather than nails to fasten boards to studs. This provides a much more secure hold.
Fixing Dings, Gouges, and Scratches
Small damaged areas in existing paint can be expertly repaired:
- Carefully sand the damaged section to feather out the edges.
- Wipe away all dust with a tack cloth.
- Fill any gouges with spackle, and allow to completely dry.
- Sand smooth and spot prime area before painting.
- Carefully touch up the paint color using a small artist’s brush.
For large damaged sections, full drywall or wood replacement may be needed prior to resurfacing.
Eliminating Stains on Painted Surfaces
Many stains can be removed from quality painted surfaces using mild dish soap, warm water, and gentle scrubbing with a soft sponge or nylon brush. For tougher grease, ink, or dirt stains:
- Try an all-purpose cleaner or degreasing spray.
- Lightly go over stubborn stains with fine steel wool.
- Seal in deep stains with a stain-blocking primer before repainting.
If stains resist all removal efforts, your best remedy is to replace the damaged drywall or other substrate before priming and painting.
Touching Up Existing Paint Jobs
Keep your home looking its best between major paint jobs by promptly touching up scrapes, scuffs, and other damage. Here are some tips:
- Use the original paint whenever possible for an exact color match.
- For small jobs, carefully dab matching paint into damaged areas using a small artist’s brush.
- Feather out edges of touchups to seamlessly blend with existing paint.
- For larger repairs, apply primer and full wall paint to avoid lap marks.
Timely touch ups keep your paint job looking fresh and flawless for years.
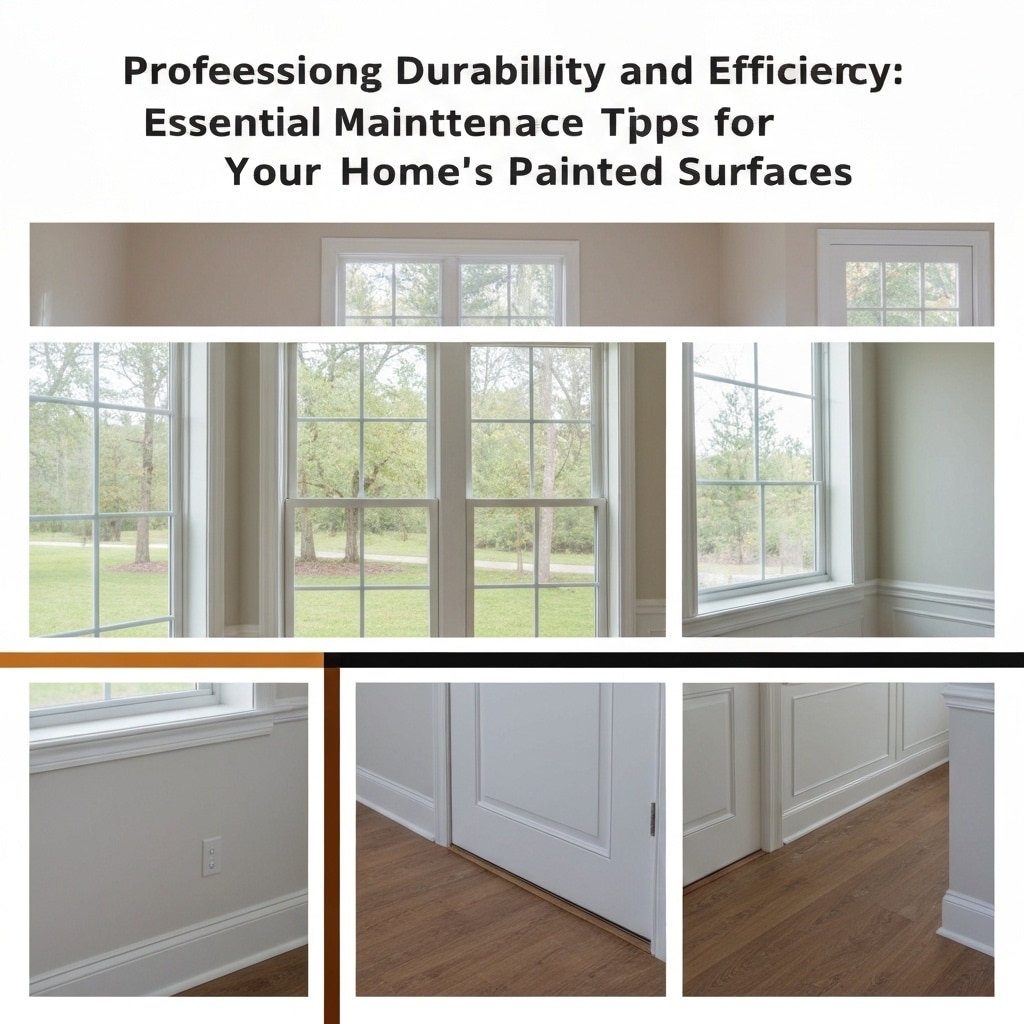
Maintaining Painted Wood Trim and Moldings
Painted trim adds personality while also protecting your home. To keep trim looking its best:
- Dust regularly using a soft lint-free cloth to prevent dirt buildup in corners and crevices.
- Check for fading paint and touch up annually before it becomes extensive. Use high quality trim paint for flexibility.
- Inspect caulking and recaulk as needed to protect the wood from moisture. Look for gaps or cracks annually.
- Consider protective clear coats on exposed trim like polyurethane for added protection in high wear areas.
Well-maintained trim retains its color, luster, and personality for years of enjoyment.
Caring for Ceilings
It’s easy to overlook ceilings when cleaning and maintaining your home’s paint. But they require periodic attention:
- Vacuum overhead pipes, lights, and fans to remove dust buildup. Use a soft brush attachment and a flexible wand.
- Replace any water-stained tiles to prevent mold growth. Match tiles to ceiling texture for smooth blending.
- Repair cracks in plaster or textured ceilings with spackle. Sand smooth and match texture before painting.
- Address any persistent moisture issues like roof leaks prior to patching and painting water stains.
An annual ceiling inspection catches small issues before major repairs become necessary.
Inspecting and Maintaining Exterior Painted Surfaces
Your home’s exterior paint takes the brunt of the sun, rain, snow, and other elements. Make exterior paint maintenance a top priority to protect your biggest investment.
Areas to Inspect Annually
- Siding – Check for peeling, cracks, warping, mold, and water damage. Probe any soft siding.
- Windows/doors – Look for paint failure around edges and deteriorated caulk allowing moisture entry.
- Eaves – Scan for cracks, peeling paint, and areas of water infiltration.
- Porch ceilings, overhangs, and railings – Check for peeling, splintering, and sagging.
- Decks – Note cracking, peeling, and deterioration of deck and railing paint.
- Masonry – Note any cracks, missing mortar, mineral buildup, or damage.
Take time each spring and fall to walk the perimeter of your home and make notes on any areas needing prep and repainting. Catching problems early is key to saving your exterior surfaces.
Power Washing Precautions
Power washing can be useful prior to exterior painting for removing:
- Dirt and pollution buildup
- Chalky oxidized paint
- Mold and mildew
However, if not done properly, high pressure water can damage wood, masonry, and other surfaces. Consider hiring a professional unless you have experience in power washing. Make sure to:
- Use proper pressure and nozzle angle to avoid digging into surfaces
- Allow all areas to dry before priming and painting to avoid trapping moisture thoroughly.
- Never point the jet directly at fragile materials like brick, wood, and aged surfaces.
Choosing a Quality Exterior Paint
The right paint protects your home from the elements, enhancing curb appeal. Look for:
- 100% acrylic or latex-based paints: More flexible and durable than oil-based options. Latex allows surfaces to breathe.
- Exterior grade paint: Formulated to resist moisture, mildew, and UV damage far better than interior options.
- Flat, satin, or semi-gloss: Flat hides imperfections best. Satin or semi-gloss adds a striking visual dimension.
Get paint tinted to precisely match existing colors. Talk to a paint pro about finishes and sheens best for your surfaces and climate.
Preparing Surfaces for Exterior Painting
Proper prep is 80% of a professional paint job. Be sure to:
- Make all necessary repairs – replace rotted wood, improve drainage, etc. Address underlying causes of paint failure.
- Remove peeling/flaking paint by scraping, sanding, wire brushing, or power washing—feather rough edges.
- Clean surfaces thoroughly using a TSP substitute to remove grease, grime, and mildew. Rinse well.
- Spot prime bare wood, metal, and masonry with appropriate primer. Allow to dry fully.
Proper prep prevents peeling, extends paint life, and ensures your time and money aren’t wasted.
Painting Exterior Walls
Use these professional techniques when painting exterior siding:
- Plan your approach strategically to maintain a wet edge and avoid lap marks as you paint. Work in shady sections on sunny days.
- Use high-quality nylon or polyester brushes to “cut in” edges and corners. Make your lines straight and consistent.
- Quickly roll larger sections using a quality roller cover with proper nap thickness to match your siding texture. Use an extension pole for upper areas.
- Apply two coats allowing full drying time between coats for most surfaces. Some dark colors may require an additional coat for full coverage and durability.
Painting Exterior Trim
Trim enhances your home’s architecture while also protecting edges from water damage. When painting:
- Allow all primer coats on raw wood to fully dry before painting. Use exterior grade primer.
- Use angled trim brushes for the best control of painting corners and details. Look for synthetic bristle brushes.
- Paint all sides of the exterior trim for maximum protection. Extra coats on vulnerable bottom edges add durability.
- Consider semi-gloss or gloss exterior trim paint for vibrant color and easier future cleaning.
Crisp, clean trim frames and accents your home beautifully for many years with proper maintenance.
Painting Exterior Doors
Follow these steps for painting your exterior doors like an expert:
- Remove hardware and fixtures including lights, numbers, knockers, handles, and hinges. Label items for easy reinstallation.
- Clean the door thoroughly to remove dirt, oil, and grime before priming.
- Apply 1-2 coats of high adhesion primer formulated for exterior doors. Allow thorough drying.
- Use high quality exterior enamel paint for maximum durability on your high-traffic entrance. Consider semi-gloss or gloss finish.
- Carefully paint corners and details using a high quality angled trim brush.
Painting Metal Railings and Decorative Elements
Metal railings, aluminum soffits, gutters, and decorative elements require specialized treatment:
- Remove rust spots by sanding lightly followed by a phosphoric acid rinse to convert additional rust.
- Clean thoroughly, then apply metal etching primer followed by an oil-based or rust-resistant spray paint.
- Follow drying times on product labels carefully before applying the finish coat.
- Plan to repaint these surfaces every 2-3 years as needed to avoid extensive rusting and deterioration.
Painting Decks, Porch Floors and Patios
Only exterior floor and porch paints withstand foot traffic. When refreshing outdoor living spaces:
- Allow new pressure treated wood to weather 6+ months before painting. Test moisture content before applying paint.
- Thoroughly clean surfaces using a deck wash product or power washer. Allow to fully dry.
- Apply exterior porch and floor paint according to the manufacturer’s directions. Most require 2-3 coats for durability.
- Use a stiff natural bristle brush and paint roller with 1/4” or 1/2” nap for best penetration and coverage.
Maintaining Painted Masonry and Stucco
Keep painted concrete, stucco, and masonry surfaces looking freshly painted with these maintenance practices:
- Use a 10% solution of muriatic acid to remove mineral deposits; always pre-wet the surface prior to applying. Rinse thoroughly.
- Check for cracks and damage annually. Repair hairline cracks with appropriate caulk. Larger cracks may require patching and repainting.
- Budget a fresh coat of quality exterior masonry paint every 5-10 years. Look for paint containing silicone for maximum water resistance and adhesion.
Proper prep and painting keep masonry walls, foundations, chimneys, and steps looking great year after year.
Knowing When It’s Time for a Professional Painter
While you can handle basic upkeep yourself, there are times to call in the pros for outstanding results:
Exterior house painting – Painting a multi-story home is dangerous and difficult for do-it-yourselfers. Professionals have the skills and equipment to safely prep, paint, and clean up. They’ll also have liability coverage.
Complete color change – If seeking a dramatic interior or exterior color change, pros have the tools to ensure proper prep and primer selection for flawless coverage.
Faded/peeling paint – If existing coatings have peeled extensively or faded unevenly, a pro can properly remove all old paint, correct issues, and apply fresh uniform coats.
Specialized finishes – Professionals excel with faux, antiquing, stenciling, and other specialty finishes using proper techniques to create striking effects.
Time/skill constraints – Pros will thoroughly prep surfaces, caulk windows, paint neatly, and handle cleanup in a fraction of the time it takes most homeowners. Their expertise ensures lasting results.
Questions to Ask Before Hiring a Painter
When seeking a painting pro, ask these key questions:
- Are you licensed and insured? Reputable painters carry all required licenses and liability insurance for property damage and worker injuries.
- What types of paints/primers do you recommend? Quality pros use top grade products and explain the benefits of options like acrylic latex over oil.
- What kind of prep work can I expect? Thorough prep should include repairs, caulking, scraping, sanding, cleaning, and priming.
- Do you offer written guarantees? The best painters provide written guarantees of 1-2 years on their workmanship. Longer guarantees indicate greater confidence.
- Can you provide references from recent local jobs? Reputable painters will gladly show you previous work.
Signs of a High Quality Painter
Look for these hallmarks of exceptional painters:
- Licensed, bonded, and insured for your protection
- Arrive on time and handle your home with care and respect
- Take time to evaluate conditions and explain recommended solutions
- Answer all questions thoroughly; educate clients on the painting process and products
- Use drop cloths and take measures to protect landscaping, surfaces, and belongings
- Provide a clear written quote/estimate outlining the scope, timeline, products, and guarantees
- Use only commercial grade paints and tools for professional results
- Employ experienced qualified helpers and properly supervise work
- Deliver a consistently high quality finished product
- Leave the site clean and tidy daily and upon completion
The best painters make the process smooth from start to finish so you enjoy the benefits for years to come.
Preparing Interior Surfaces for Painting
Achieving a durable, quality interior paint job requires diligent prep work including:
- Cleaning walls and ceilings thoroughly to remove grease, dirt, and grime using TSP substitute or other cleaner
- Removing/protecting hardware, fixtures, electronics, and furnishings or moving such items away from walls
- Filling holes and imperfections with lightweight spackle compound; sanding smooth when dry
- Lightly sanding glossy surfaces to roughen for optimal paint adhesion
- ** address any moisture issues** to prevent blistering and adhesion failure
- Caulking around trim, windows, and doors to seal air gaps
Thorough prep prevents peeling and creates a smooth surface ready for flawless painting.
Selecting Interior Paints and Finishes
Consider these factors when choosing interior paint:
- Finish – Eggshell and satin finish work for most rooms. Semi-gloss adds durability in kitchens, baths, and kids’ rooms. Flat hides flaws but requires gentle cleaning.
- Durability – Enamels and epoxies provide rock-hard finishes in high-traffic areas. Acrylic latex resists yellowing and wear.
- VOC content – Low-VOC options are better for indoor air quality but don’t sacrifice appearance or durability.
- Color – Evaluate colors at different times of day when selecting. Avoid trendy colors for expensive accent pieces.
Talk to paint specialists about your needs. Quality paint means quality results.
Applying Paint Like an Expert Painter
These techniques ensure flawless interior painting:
- Use quality applicators – Purdy and Wooster brushes for cutting-in edges; premium roller covers and frames for rolling large areas
- Pour paint into roller trays – Use anti-splash roller trays to prevent spills and messes
- Load roller evenly – Roll in the tray in A and N patterns for uniform saturation without dripping
- Cut in edges first – Use an angled trim brush with a steady hand to outline ceilings, trim, windows, and doors
- Roll larger areas – Use modest pressure in even strokes. Overlap roller passes to create a consistent finish.
- Maintain wet edge – Keep a wet-on-wet edge as you paint to prevent lap marks and flashing from overlapping dried paint. Work in sections.
Painting Cabinets Like a Pro
Follow these steps for a flawless and durable cabinet paint job:
- Clean thoroughly – Use TSP substitute to fully degrease and degloss cabinets before painting
- Lightly sand – Scuff sand to aid paint adhesion
- Remove doors and hardware – Paint separately if possible for the easiest access to all areas
- Prime with specialty primer – Use primer specifically formulated for painting cabinets
- Use quality trim brushes – Angled sash brushes reach recesses neatly
- Apply durable finish coat – Cabinet enamel or quality acrylic latex paint
Beautifully painted cabinets revive your kitchen or bath at a fraction of the replacement cost.
Painting Interior Doors and Trim
Doors and trim add personality while enduring constant use and cleaning. Proper painting technique preserves their beauty:
- Fill nail holes/imperfections with lightweight spackle compound; sand smooth.
- Remove doors for easiest access and to prevent sticking. Protect glass panes from paint drips.
- Clean thoroughly before priming – Use a TSP substitute to remove soils that could impede adhesion.
- Prime unpainted wood with appropriate primer allowing complete drying.
- Use quality angled trim brushes to cut edges around frames neatly and evenly.
Freshly painted trim retains its welcoming warmth and character for years to come.
Painting Baseboards and Moldings
Baseboards and moldings frame interior rooms while hiding gaps along floors and joints. When painting:
- Fill nail holes with spackle, and allow to dry fully. Lightly sand smooth.
- Thoroughly wipe away dust using a tack cloth. Any debris left behind will mar the paint job.
- Tape off adjacent walls or carefully cut edges using a quality trim brush. Work slowly and steadily.
- Apply two finish coats for the best durability and rich color coverage. Use semi-gloss or high gloss paint for the easiest cleaning.
Caring for Painted Floors
Painting floors adds affordable color while protecting against scuffs and stains. Use these pro tips:
- Only use porch and floor enamel meant for high-traffic areas. Check manufacturer instructions.
- Thoroughly clean and degloss floors before painting using a TSP substitute. Rinse and allow to dry completely.
- Apply painter’s tape along baseboards, trim, and edges for neatly painted lines. Pull tape immediately after edging.
- Allow oil-based floor paints to cure about two weeks before light use; a month before moving furniture back.
Place area rugs at entryways to reduce tracked-in dirt. Sweep and mop floors gently.
When It’s Time for Professional Repainting
Consider hiring a pro painter when:
- Existing paint is cracking, peeling, or blistering extensively – This indicates a problem needing correction before repainting.
- Stains have been set into the substrate – Professionals know proper stains are blocking primers to allow for uniform repainting.
- Seeking significant color change – The right primer helps new paint colors cover bold existing hues.
- Changing paint sheen – Going from flat to gloss requires priming for proper smoothness and adhesion.
- Covering dated wallpaper – Professionals properly remove wallpaper, size walls, and prime for fresh paint.
- Repainting every 5-7 years (high traffic areas) – Kitchens, hallways, and bathrooms benefit from fresh coats on this schedule.
- Repainting every 10-15 years (low traffic areas) – Bedrooms, formal rooms, and accent walls may only need updating on this extended schedule.