


I’m no stranger to the satisfaction of a fresh paint job. But I’ve learned the hard way that it’s all in the prep work. Poor preparation can lead to unsightly results and wasted effort. So, let’s dive into the essential steps of painting surface preparation. From cleaning and fixing to sanding and priming, I’ll guide you through the process to ensure you’re well-prepared for your next painting project. Trust me, it’s worth the extra elbow grease.
Understanding the Importance of Preparation
In my experience, I’ve found that preparation isn’t just important—it’s crucial to achieving a flawless paint job. The preparation significance can’t be overstated. It lays the groundwork for the quality and longevity of the paint job. It’s not just about rolling on some color—it’s about ensuring that color adheres properly and looks good for years to come. The preparation benefits are numerous. First, it helps remove any dust, grime or peeling paint that could interfere with your new coat. Second, it allows for a smoother application and finish. Lastly, it helps the paint bond better to the surface, enhancing durability. In essence, preparation isn’t just a step—it’s the foundation of a great paint job.
Cleaning the Surface Thoroughly
So, how do we start the actual process of preparing the surface for painting? It begins with cleaning the surface thoroughly. I’d suggest using different detergent types based on the nature of the dirt or stain on the surface. Remember, the aim is to achieve complete stain removal.
| Detergent Type | Stain Removal |
|---|---|
| Soap-Based | Good for light dirt |
| Solvent-Based | Effective on oil stains |
| Acid-Based | Ideal for rust or mineral stains |
First, I apply the detergent, scrub gently, then rinse with clean water. If stains persist, I repeat the process. This ensures that the painting surface is free from dust, grease, or any substances that could affect paint adhesion. A clean surface is crucial for a flawless paint job.
Fixing Imperfections and Damage
After cleaning, I then turn my attention to identifying and fixing any surface imperfections or damages. This part of the process involves a keen eye for damage detection. I carefully examine the surface for any cracks, holes, or peeling paint. I’ve found that it’s absolutely necessary to address these issues before I start painting.
For small cracks and holes, I employ repair techniques like patching and sanding. I’ll fill the hole or crack with a suitable filler, let it dry, then sand it smooth. If there’s peeling paint, I’ll scrape it off carefully to avoid further damaging the surface. Ultimately, it’s this thorough preparation that ensures a smooth, impeccable finish, making the painting process much easier and the results more satisfactory.
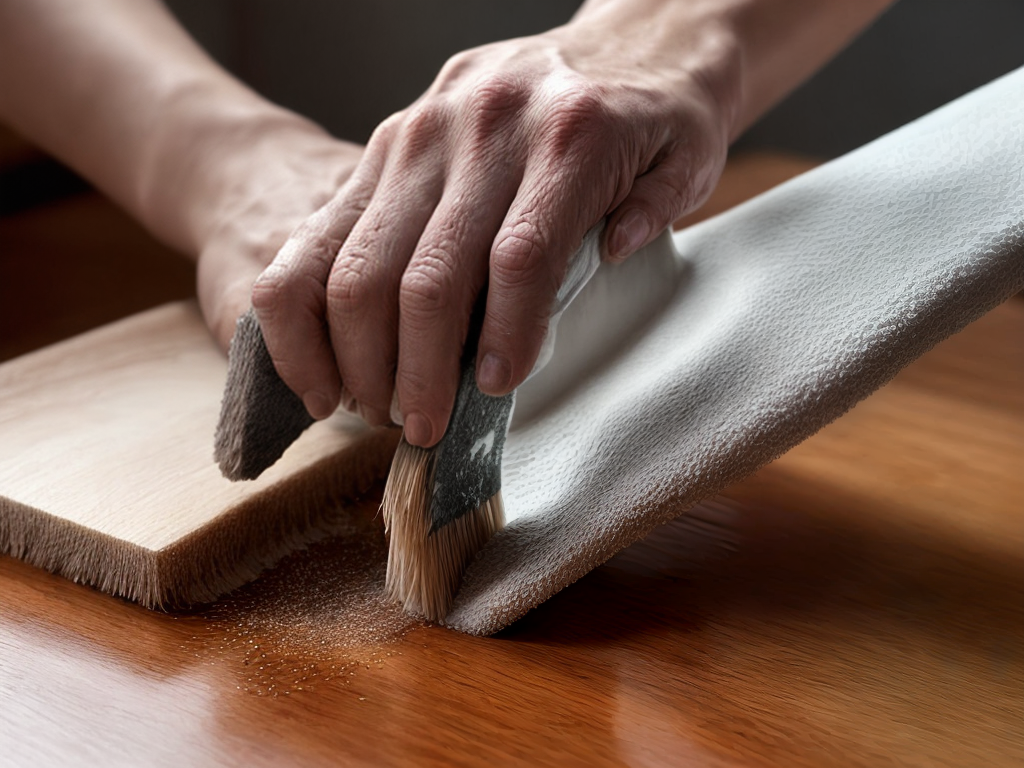
Sanding for Smooth Surfaces
Moving on from repairing imperfections, I then gear up for the vital task of sanding to ensure a perfectly smooth surface for painting. It’s not just about dragging a piece of sandpaper across the surface, though. Sandpaper selection is key. I usually opt for fine-grit sandpaper to avoid creating new scratches or dents.
Once the sanding kicks off, dust inevitably fills the air. That’s where dust collection techniques come into play. I always make sure to have a vacuum cleaner close by, sucking up the dust as I work. This not only keeps the air clean but also prevents the dust from settling back on the surface. This way, I’m left with a smooth, dust-free surface that’s ready for a fresh coat of paint.
Applying the Appropriate Primer
With the surface now flawlessly smooth and dust-free, it’s time to apply the right primer. Selecting and applying a primer might seem like a no-brainer, but there’s more to it than meets the eye. Primer types and primer application techniques can greatly affect the final outcome of your paint job.
To help you out, here are some key points to consider:
- Different primer types are designed for different surfaces. Some are oil-based, others are latex-based. You’ll need to choose the one that suits your surface best.
- Primer application techniques vary. Some people prefer using brushes, while others swear by rollers or sprayers.
- Always ensure you’ve prepared the primer as per its instructions.
- Let the primer dry completely before applying the paint. Patience here can make all the difference in the end result.
Taping Off Areas for Precision
So, how do I ensure clean, sharp edges and protect certain areas from being painted? Well, it’s all about material selection and protective measures. I start by selecting the correct tape for the job. The standard painter’s tape works well for most surfaces, but for delicate or textured surfaces, I might need something more specific. Once I’ve got the right tape, I need to apply it properly. I ensure the tape is pressed down firmly to prevent paint from seeping underneath. This is my first line of defensive, and protective measures. I also use drop cloths and plastic sheeting to protect larger areas and objects from splatters and spills. By taping off areas for precision, I can achieve a professional finish every time.